

USArtQuest in Chelsea, MI, has a number of classes including some free DIY sessions. I attended the pumpkin prepping one. These were the prototypes.

The lighting in the studio really shows the sheen on these little gems, much better than in my photos.

Basically, it's one product -- metallic gold glaze, brushed onto the entire pumpkin and allowed to dry. (I suppose if you can't find metallic gold glaze, you could mix a bit of gold with a glazing medium, but I couldn't tell you quantities.)

Once it's dried, tie on some raffia if you like, or add flowers or stickers. They provided the materials here.

And that's basically it. Above is the one I made in the class. The ones below are those I did after I came home.
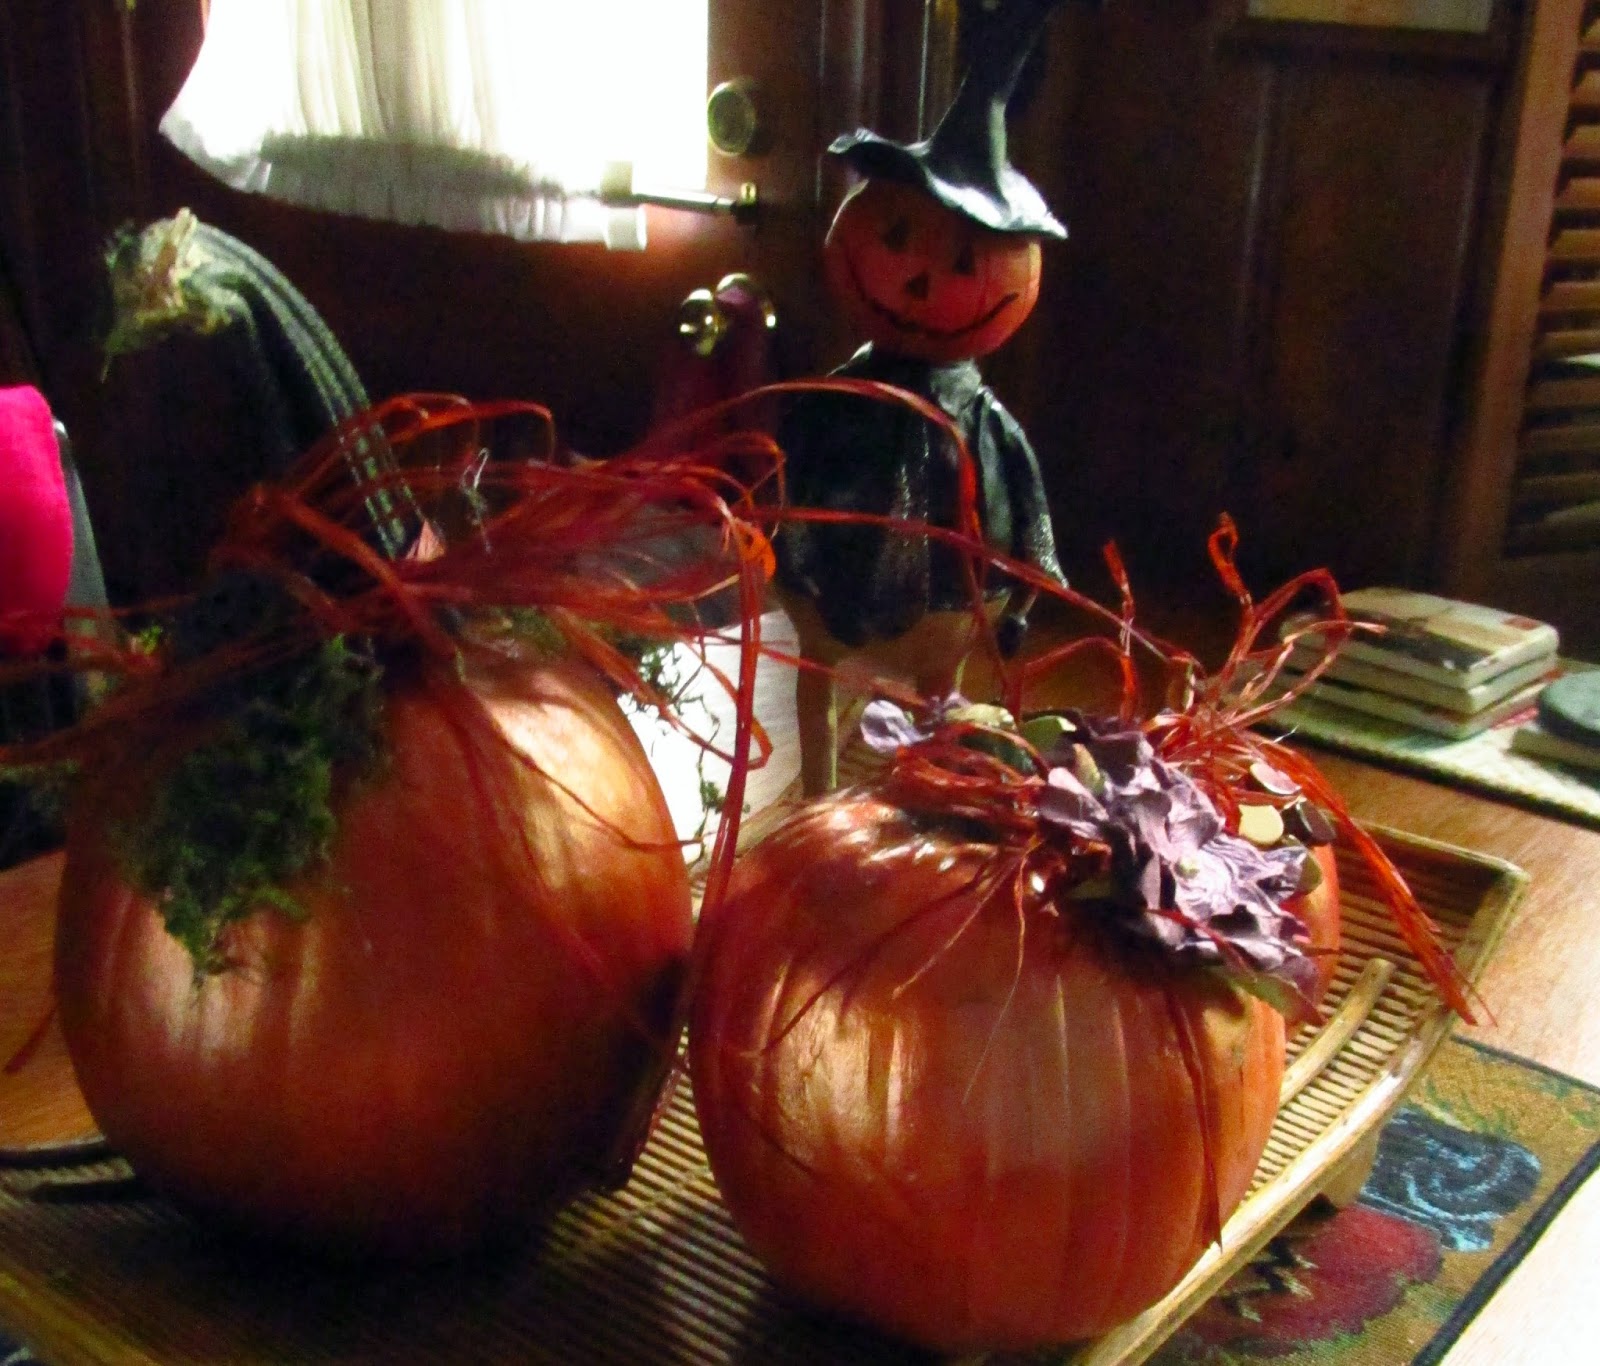
This one is a "real" pumpkin and I just used the raffia and moss on it.

These two were faux pumpkins. One had leafy beads, the other the floral/foliage treatment.


I later tried the same technique on some gourds with great success. Most of all, I was delighted with how quickly they came together. I could get hooked on these guys!

If you have a spare 20 minutes, give it a try. I think you'll be pleased with the results and the ways you can use them in your decorating.


