


This time our project was creating a 72" habotai silk scarf. We started with blanks ordered from Dharma Trading Company and used Sharpie Markers for the design.

I found this project thanks to one of you -- Elizabeth from Altered Book Lover, who first featured it here. (She has other links on her sidebar related to Sharpies if you find this interesting!)
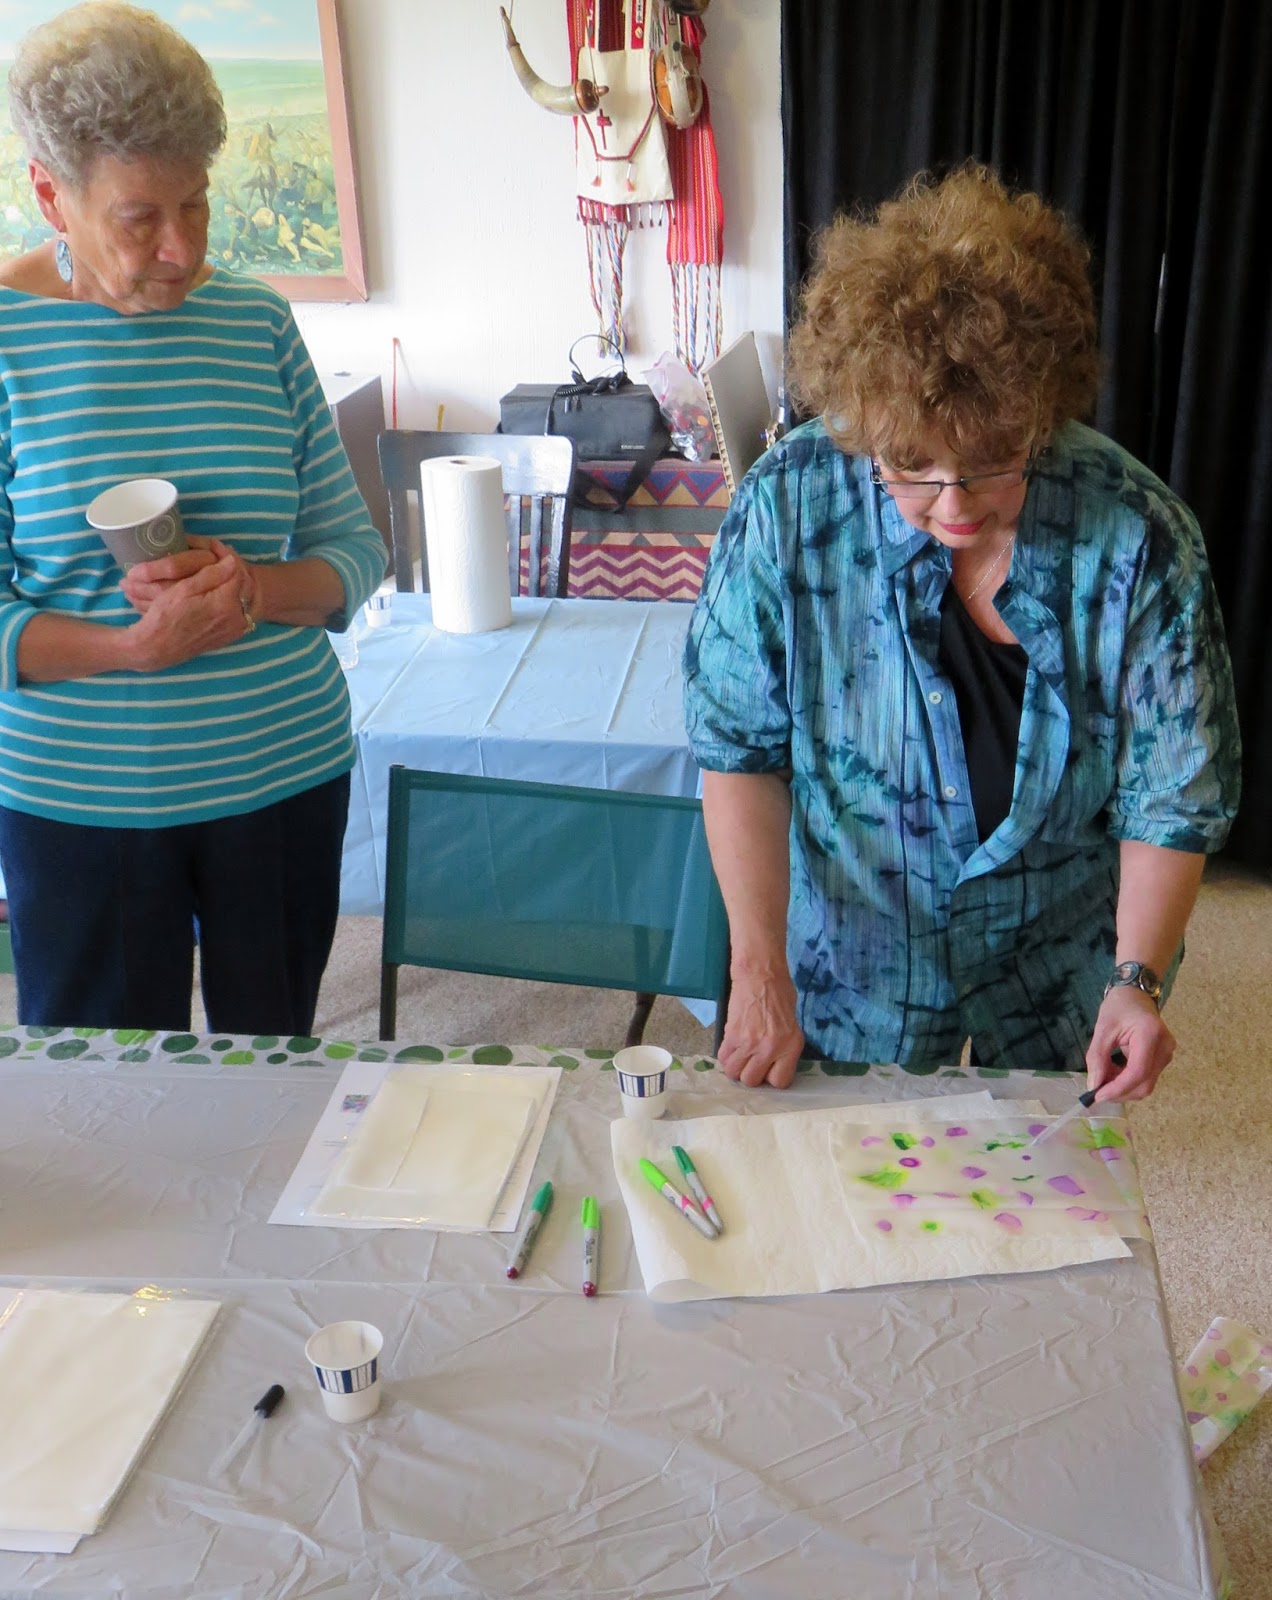
You can do this a number of ways -- you can draw on your scarf from the beginning to end and then with the magic of rubbing alcohol go through the whole scarf making the colors bleed and pop in the most amazing of ways. This was the method we did.

(Another method involves taking a small container and using a rubber band, making a portion of your fabric tight, coloring it and then dropping the alcohol. I've done this too -- both work well but for our purposes, not fussing with containers was easier.)


There is only one rule to this project. Leave your inner Norman Rockwell at home because it will probably NOT look like how you think it will! You can try patterns and a shade of them will remain -- but don't count on it!

Supplies include Sharpies, an eye dropper or similar and alcohol. Lots of paper towels will help protect your surface. When the project is done, heat set it by 10 minutes in a hot dryer (probably in a pillow case or laundry bag so it doesn't snag). Hand wash in cold.

We had a grand group of creative people and everyone's scarf was completely different.


Jan did hers by drawing on the dark squares and then adding her color around it. (Her inner Norman Rockwell didn't quite go to sleep but it was one of my favorites and turned out as she wanted it!)


Rosemary went with lots of purples and a violet theme.


Kate went the stripe route. The colors were great with what she wore to the event!


Kate and Susie were the only ones using orange in their scarves. It really popped!

Julie's was another abstract that looked perfect with her outfit of the day.

So did Tracey's! Lots of blues with some black.

And Pat came up with a wonderful floral print.

There are a couple of guidelines that I haven't mentioned -- one is not to forget the hem area. It doesn't have to be colored in, of course, but if some of your colors start to bleed into the hem, intentionally add it a bit more, just so it looks planned!

We did this project easily in 90 minutes. And quite literally, a child could do it. What a fun thing to do with a grandchild! It might be a homemade Christmas present mom could actually use, not just love to pieces!


You can also do this on other surfaces -- a very rough, fiberous paper, a mulberry paper or cotton. It doesn't work so well on materials with too much poly on them. Natural fibers are best.

I loved Barb's apron!

I think you can see from the happy faces that we were very pleased with our scarves!

Thanks, Elizabeth, for posting the idea!

This post will be shared with Thoughts of Home on Thursday where you'll find lots of fun, creative links with projects, home decor, recipes and more! And don't come back for tea time!


